Switching from WinTrack
Work in progress: This section is still a work in progress — content is being added and revised continuously.
Planned your layout in WinTrack so far? Then you don’t start from scratch — Trackplanner reads WinTrack files and imports the track geometry. Here’s how to bring your plan over, and what does and doesn’t come across.
Step 1 — Find the plan file
WinTrack saves every plan as a file ending in .tra. There’s nothing to export: save the plan in WinTrack as usual and note which
folder the .tra is in.
Older plans often have a .trs file of the same name next to the .tra (drawings,
text, flex track). You don’t need it for the import — Trackplanner only reads the .tra.
From WinTrack file version 6.1 on, that content sits inside the .tra anyway; only in
those plans do flex track, contour lines, drawings, labels and the baseboard come across.
Step 2 — Import the file
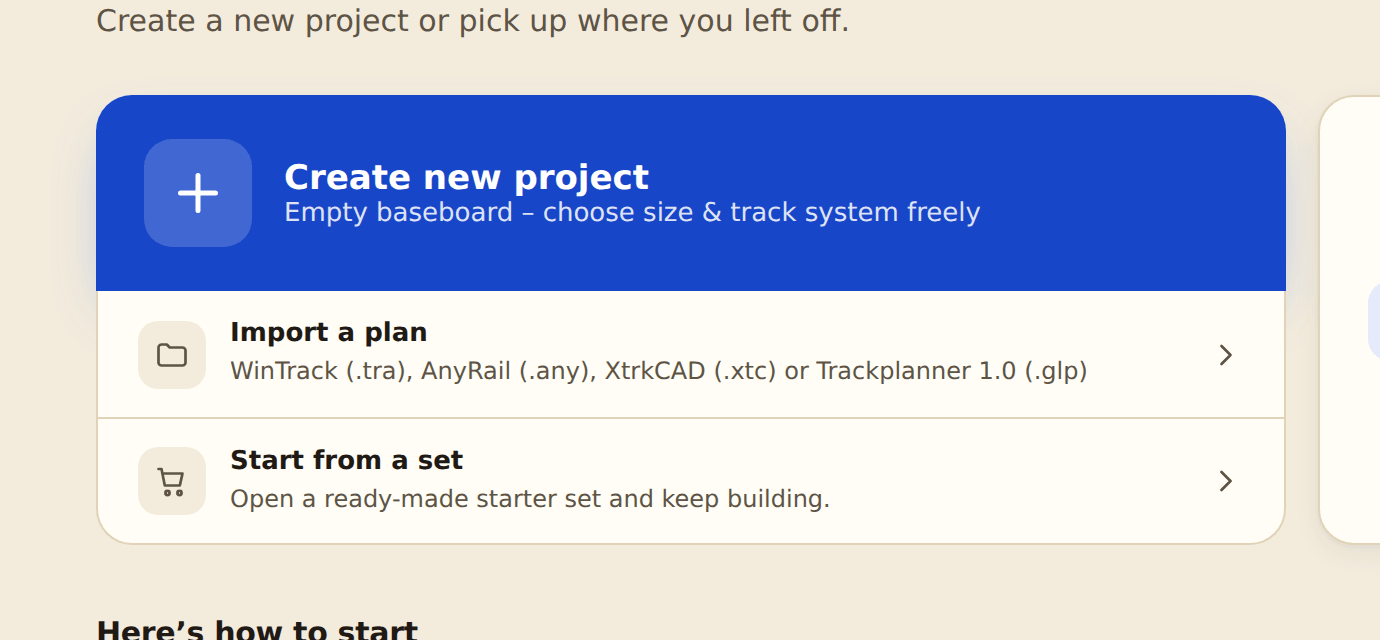
Sign in, open “Import a plan” on the start page and drop the .tra into the window (or
click and pick it). The file is read on our server; to turn it into a plan you need an
account.
The preview shows the detected track system and the number of tracks. If something is missing, it says, for example, “245 of 260 objects in the file will be imported as track”. Below that, a short report lists what comes along besides the tracks (layers, shapes, labels, baseboard, tracks with height/gradient, accessories), what is dropped and which part numbers couldn’t be matched. Only “Import” turns it into a new plan.
Step 3 — What comes across (and what doesn’t)
You don’t need to worry about the mapping: Trackplanner recognises the track system from
the part numbers and rebuilds the plan from our libraries — from Märklin C/K/M/Z/I through
Trix, Minitrix, Roco, Piko, Fleischmann, Arnold and Tillig to LGB, plus Kato, Atlas, Bachmann,
Lionel, Lima, Pilz and Kühn TT, among others. Peco plans are not recognised yet. A few very
old or unusual .tra files can’t be read yet; the import tells you if so.
Imported:
- Tracks with a part number — straights, curves, turnouts, crossings, double slips and turntables, each with its connections.
- Layers with name, visibility and colour.
- Heights and gradients — each track gets the height at its ends, so ramps come across as gradients; a chain of flex track climbs evenly throughout. Turnouts and crossings lie flat, as in WinTrack.
- Contour lines as terrain — freehand lines with a height become the 3D landscape.
This works for plans from WinTrack file version 6.1 on, where the drawings are stored
inside the
.tra. Heights beyond ±60 cm are clamped to the terrain limit. - Flex track with its exact curvature — again only for plans from file version 6.1 on
(in older ones the shape sits in the separate
.trs, which the import doesn’t get). Which flex track you laid is written in the file: even when it comes from a different system than the rest of the plan, say Märklin K flex in a Märklin C plan. If the article is missing from our library, we use the flex track of your plan’s main system; only if that has none does the piece stay out. - Drawings, labels and baseboard — freehand lines become shapes, labels become text, the baseboard edges become the baseboard. Again only for plans from file version 6.1 on.
- Accessories from the WinTrack libraries — signals, lamps, catenary masts, buildings, bridges, tunnel portals, level crossings, platforms, trees, fences, road vehicles and figures become accessory objects with a matching model from our library. The file doesn’t know their exact dimensions, so give their size a quick check. A turnout-motor symbol turns the turnout beneath it into a motorised turnout.
Not imported:
- Plans older than file version 6.1: flex track, contour lines, drawings, labels and
baseboard — they sit in the
.trs. - The plan’s own symbols such as self-drawn buildings, vehicles and formers, plus 3D
objects (
.te3). - Contact wire and other catenary parts, rolling stock, markings and track-diagram symbols.
- Unknown parts — tracks we don’t have in our library (yet) are left out, as are self-defined turnouts with no catalogue counterpart. The report in the preview lists them by part number.
Without Premium you keep imported layers, heights and gradients and see them in 3D; editing them needs Premium.
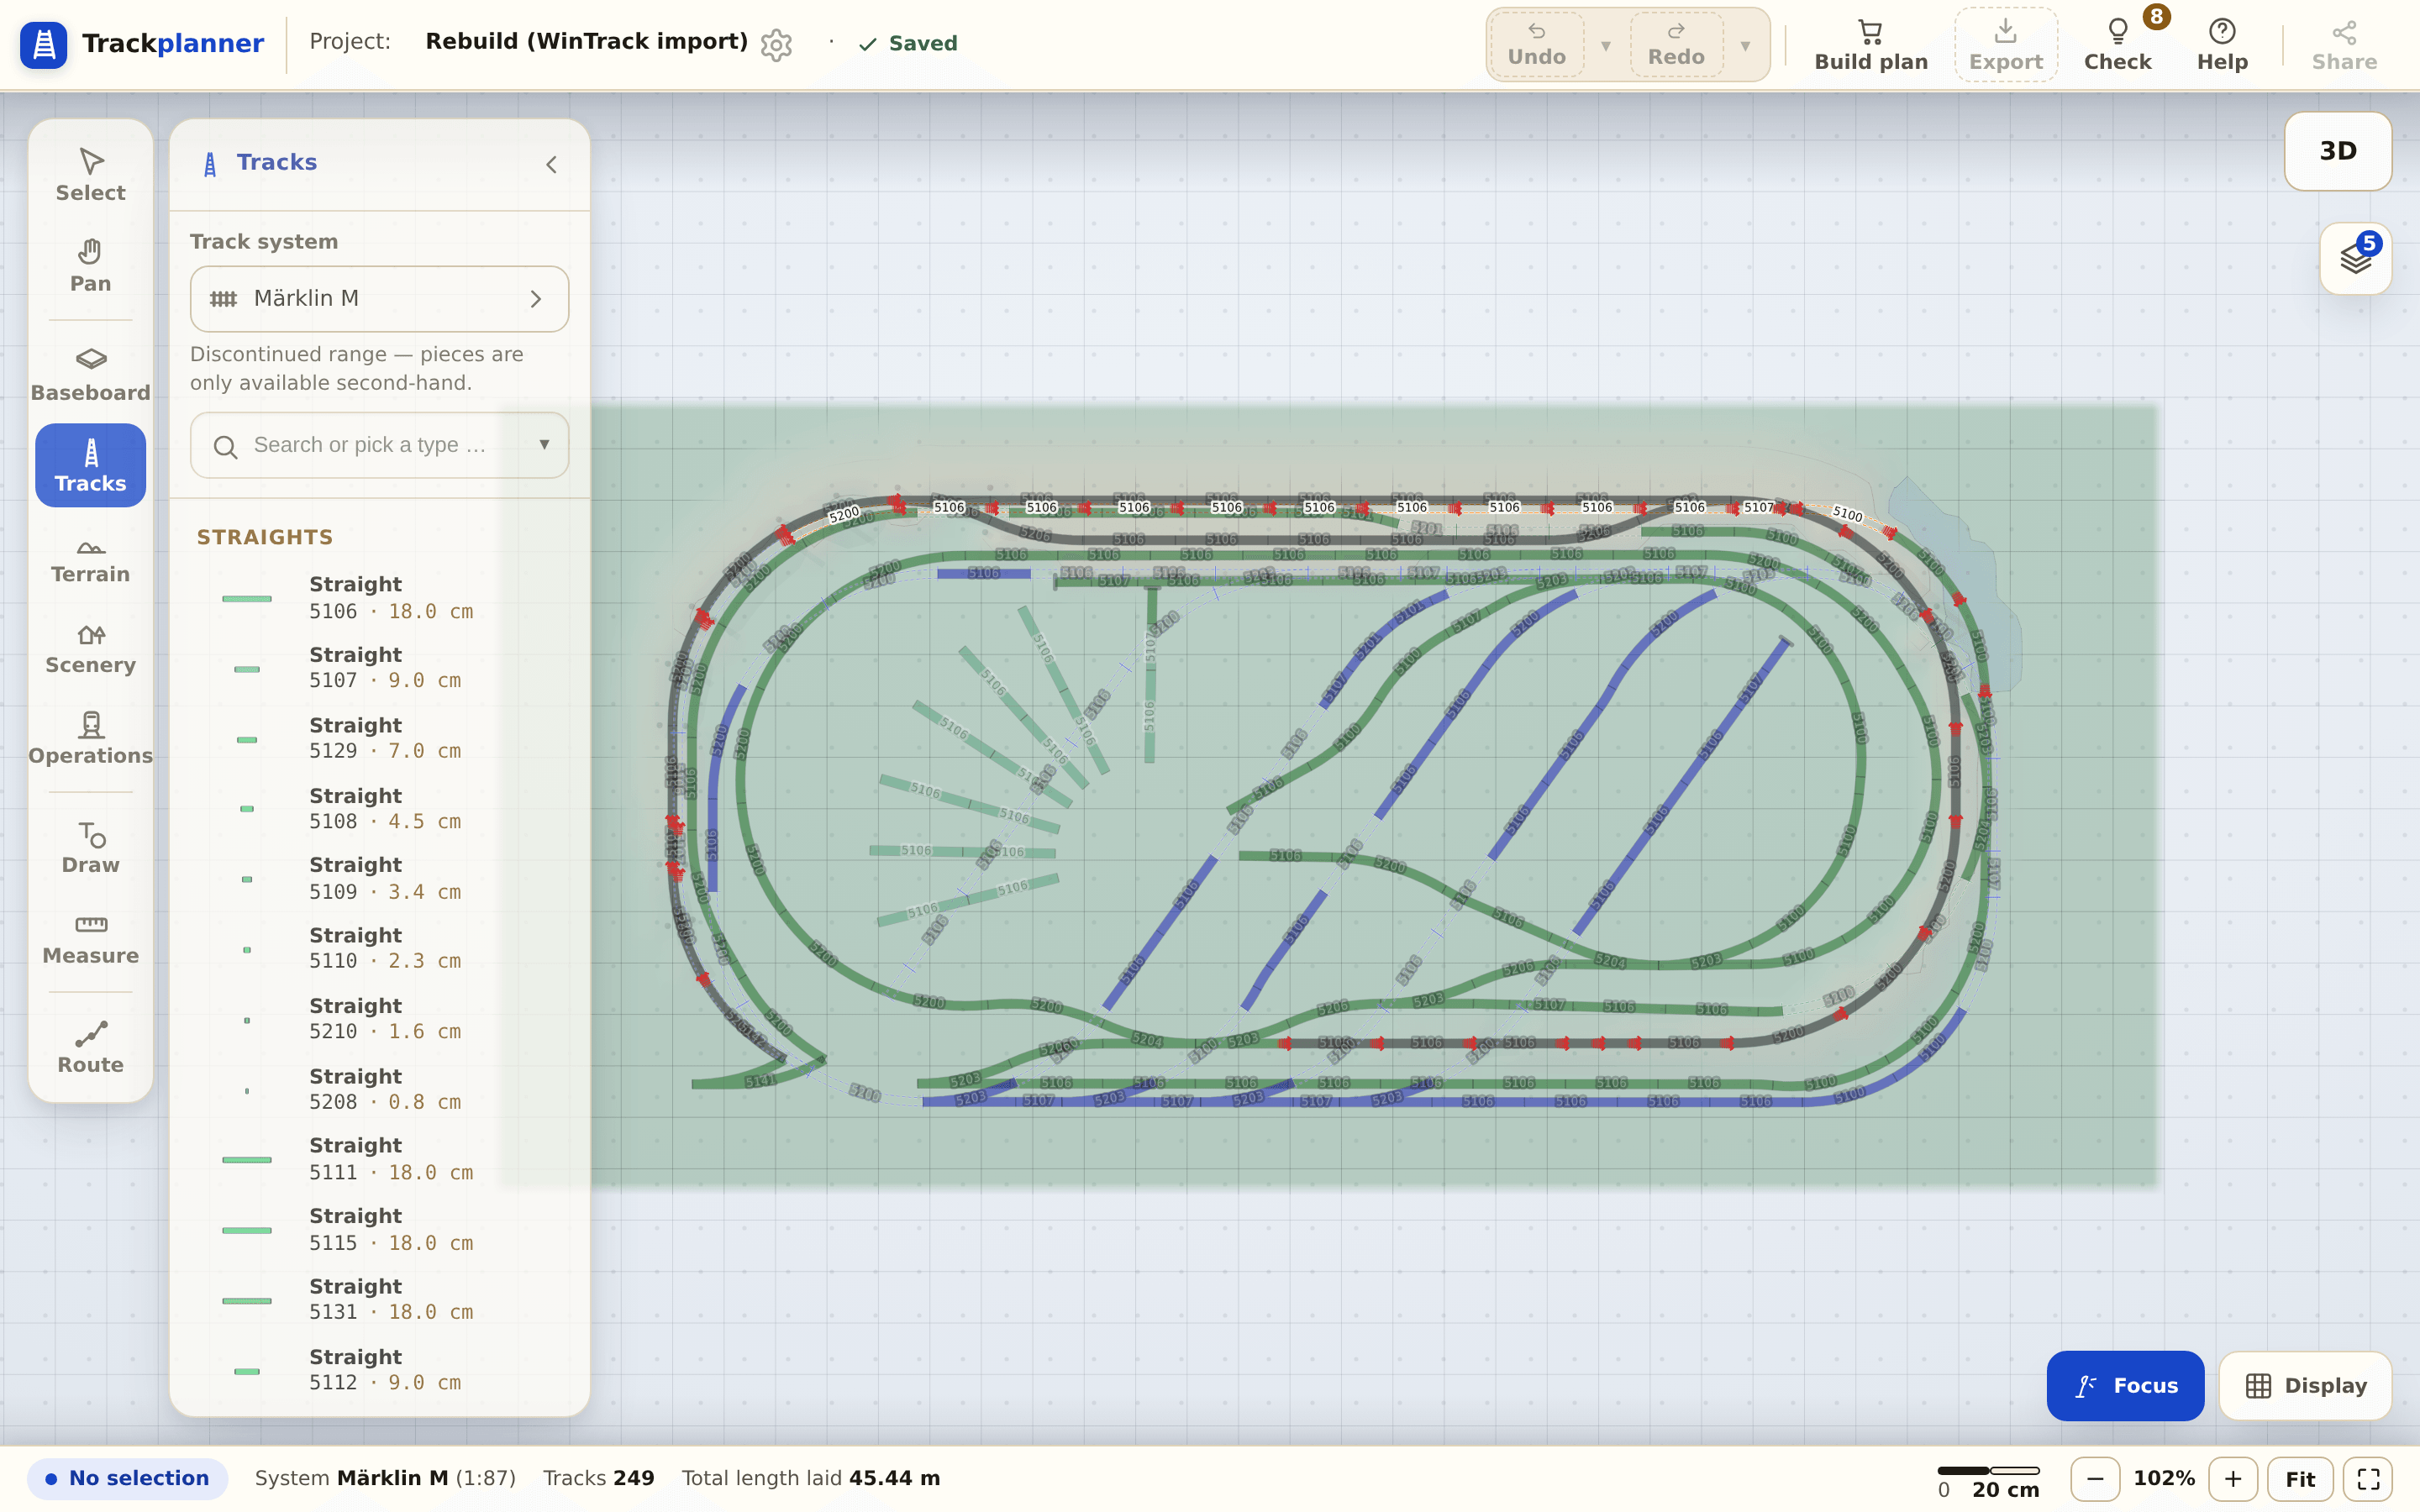
Step 4 — Review the plan check
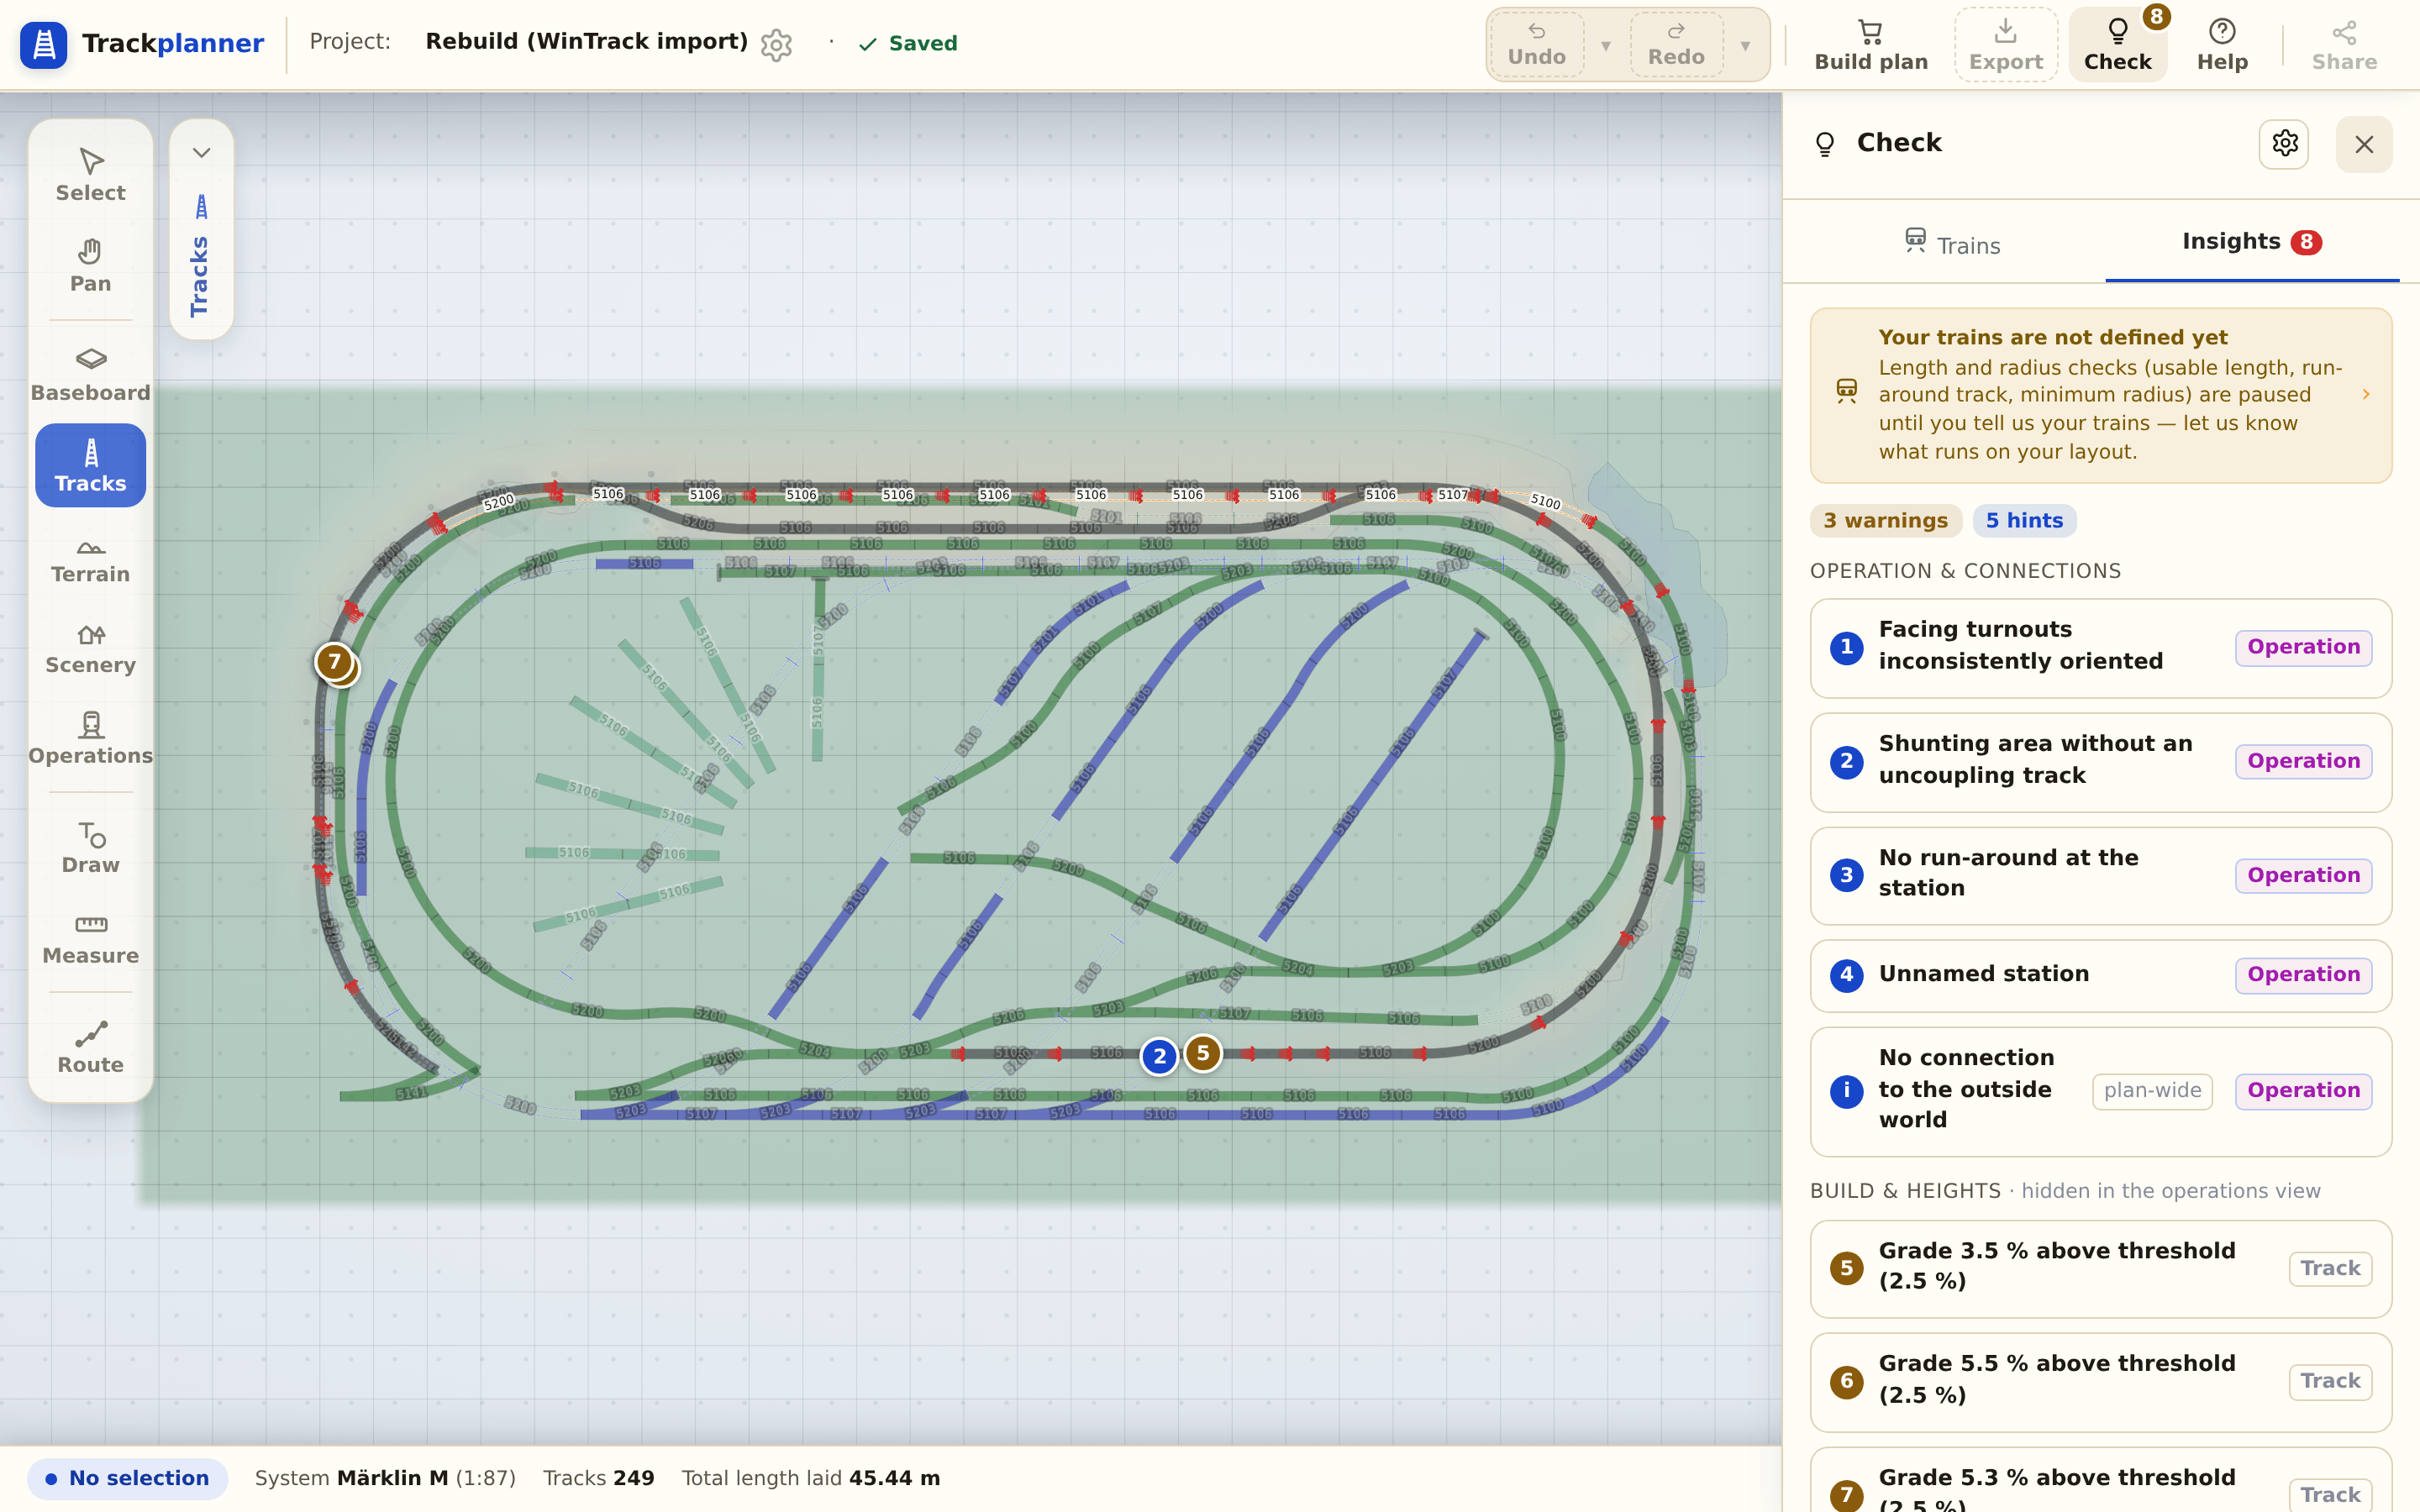
After importing, open the plan check: do all rail joints sit cleanly, are the radii sound (mind the minimum radius), are the usable lengths plausible (their check is coming soon)? Gaps from unknown parts show up in the plan as open ends (⋯) — and for the imported flex track the plan check tests the radii against your minimum radius; WinTrack only noted them as a number.
Why does this work? The legal position in brief
Your track plan is your work — not the work of the program you drew it in. European law is clear that Trackplanner may read it:
- The file format is not protected as a program. The Court of Justice of the EU ruled that neither the functionality of a computer program nor the format of its data files enjoys the protection copyright gives the program itself (judgment of 2 May 2012, case C‑406/10, SAS Institute). Reading a file format does not copy a program.
- Interoperability is intended. The EU Software Directive (2009/24/EC) allows observing, studying and testing how a program works (Art. 5(3)) and — where necessary — even decompiling its code so that independent programs can work together (Art. 6). A licence agreement cannot exclude these rights (Art. 8). In German law they are §§ 69d, 69e and 69g UrhG.
- The other program isn’t needed. Trackplanner contains and ships none of the other program’s code; it doesn’t have to be installed for the import. From your file we read which track sits where and rebuild the plan with the tracks from the Trackplanner library.
- We may use the name. Stating factually which files a product can read uses another company’s trademark to refer to its product — trademark law allows this as long as it is in line with honest practices (Art. 14 of the EU Trade Mark Regulation; § 23(1) no. 3 and (2) of the German Trade Mark Act).
WinTrack is a trademark of its owner; Trackplanner is not affiliated with its maker.
The condition is on your side: import your own plans. You may not publish a plan someone else designed — from a forum, a plan exchange or a magazine — as your own. Without Premium, plans are publicly visible, which is why you confirm during the import that the plan is yours.
What’s next?
- From other programs too: Switching from AnyRail · Switching from XTrackCAD.
- Start the series: First oval with a siding.
- More on this: Minimum radius.