Grow the oval into a station
Work in progress: This section is still a work in progress — content is being added and revised continuously.
An oval just runs in circles — a station gives it operation. In this part you build a runaround so the loco can reach the other end of the train, lay a second platform track with enough usable length, and give the station a name.
Starting point: your base oval from Part 1. This part builds directly on it — the series is a hub (the oval) with spokes: every part starts from the oval, not from the previous one.
Step 1 — Make room for the station
A station needs straight length — and you don’t have to rebuild the oval piece by piece. Select your oval (a single click is enough; it selects the whole run up to the turnout) and hover one of the straights: ↔ stretch handles appear at the joints. Pull a handle outwards — the oval grows longer, and Trackplanner automatically re-tiles the straights with matching catalogue pieces.
Step 2 — The runaround
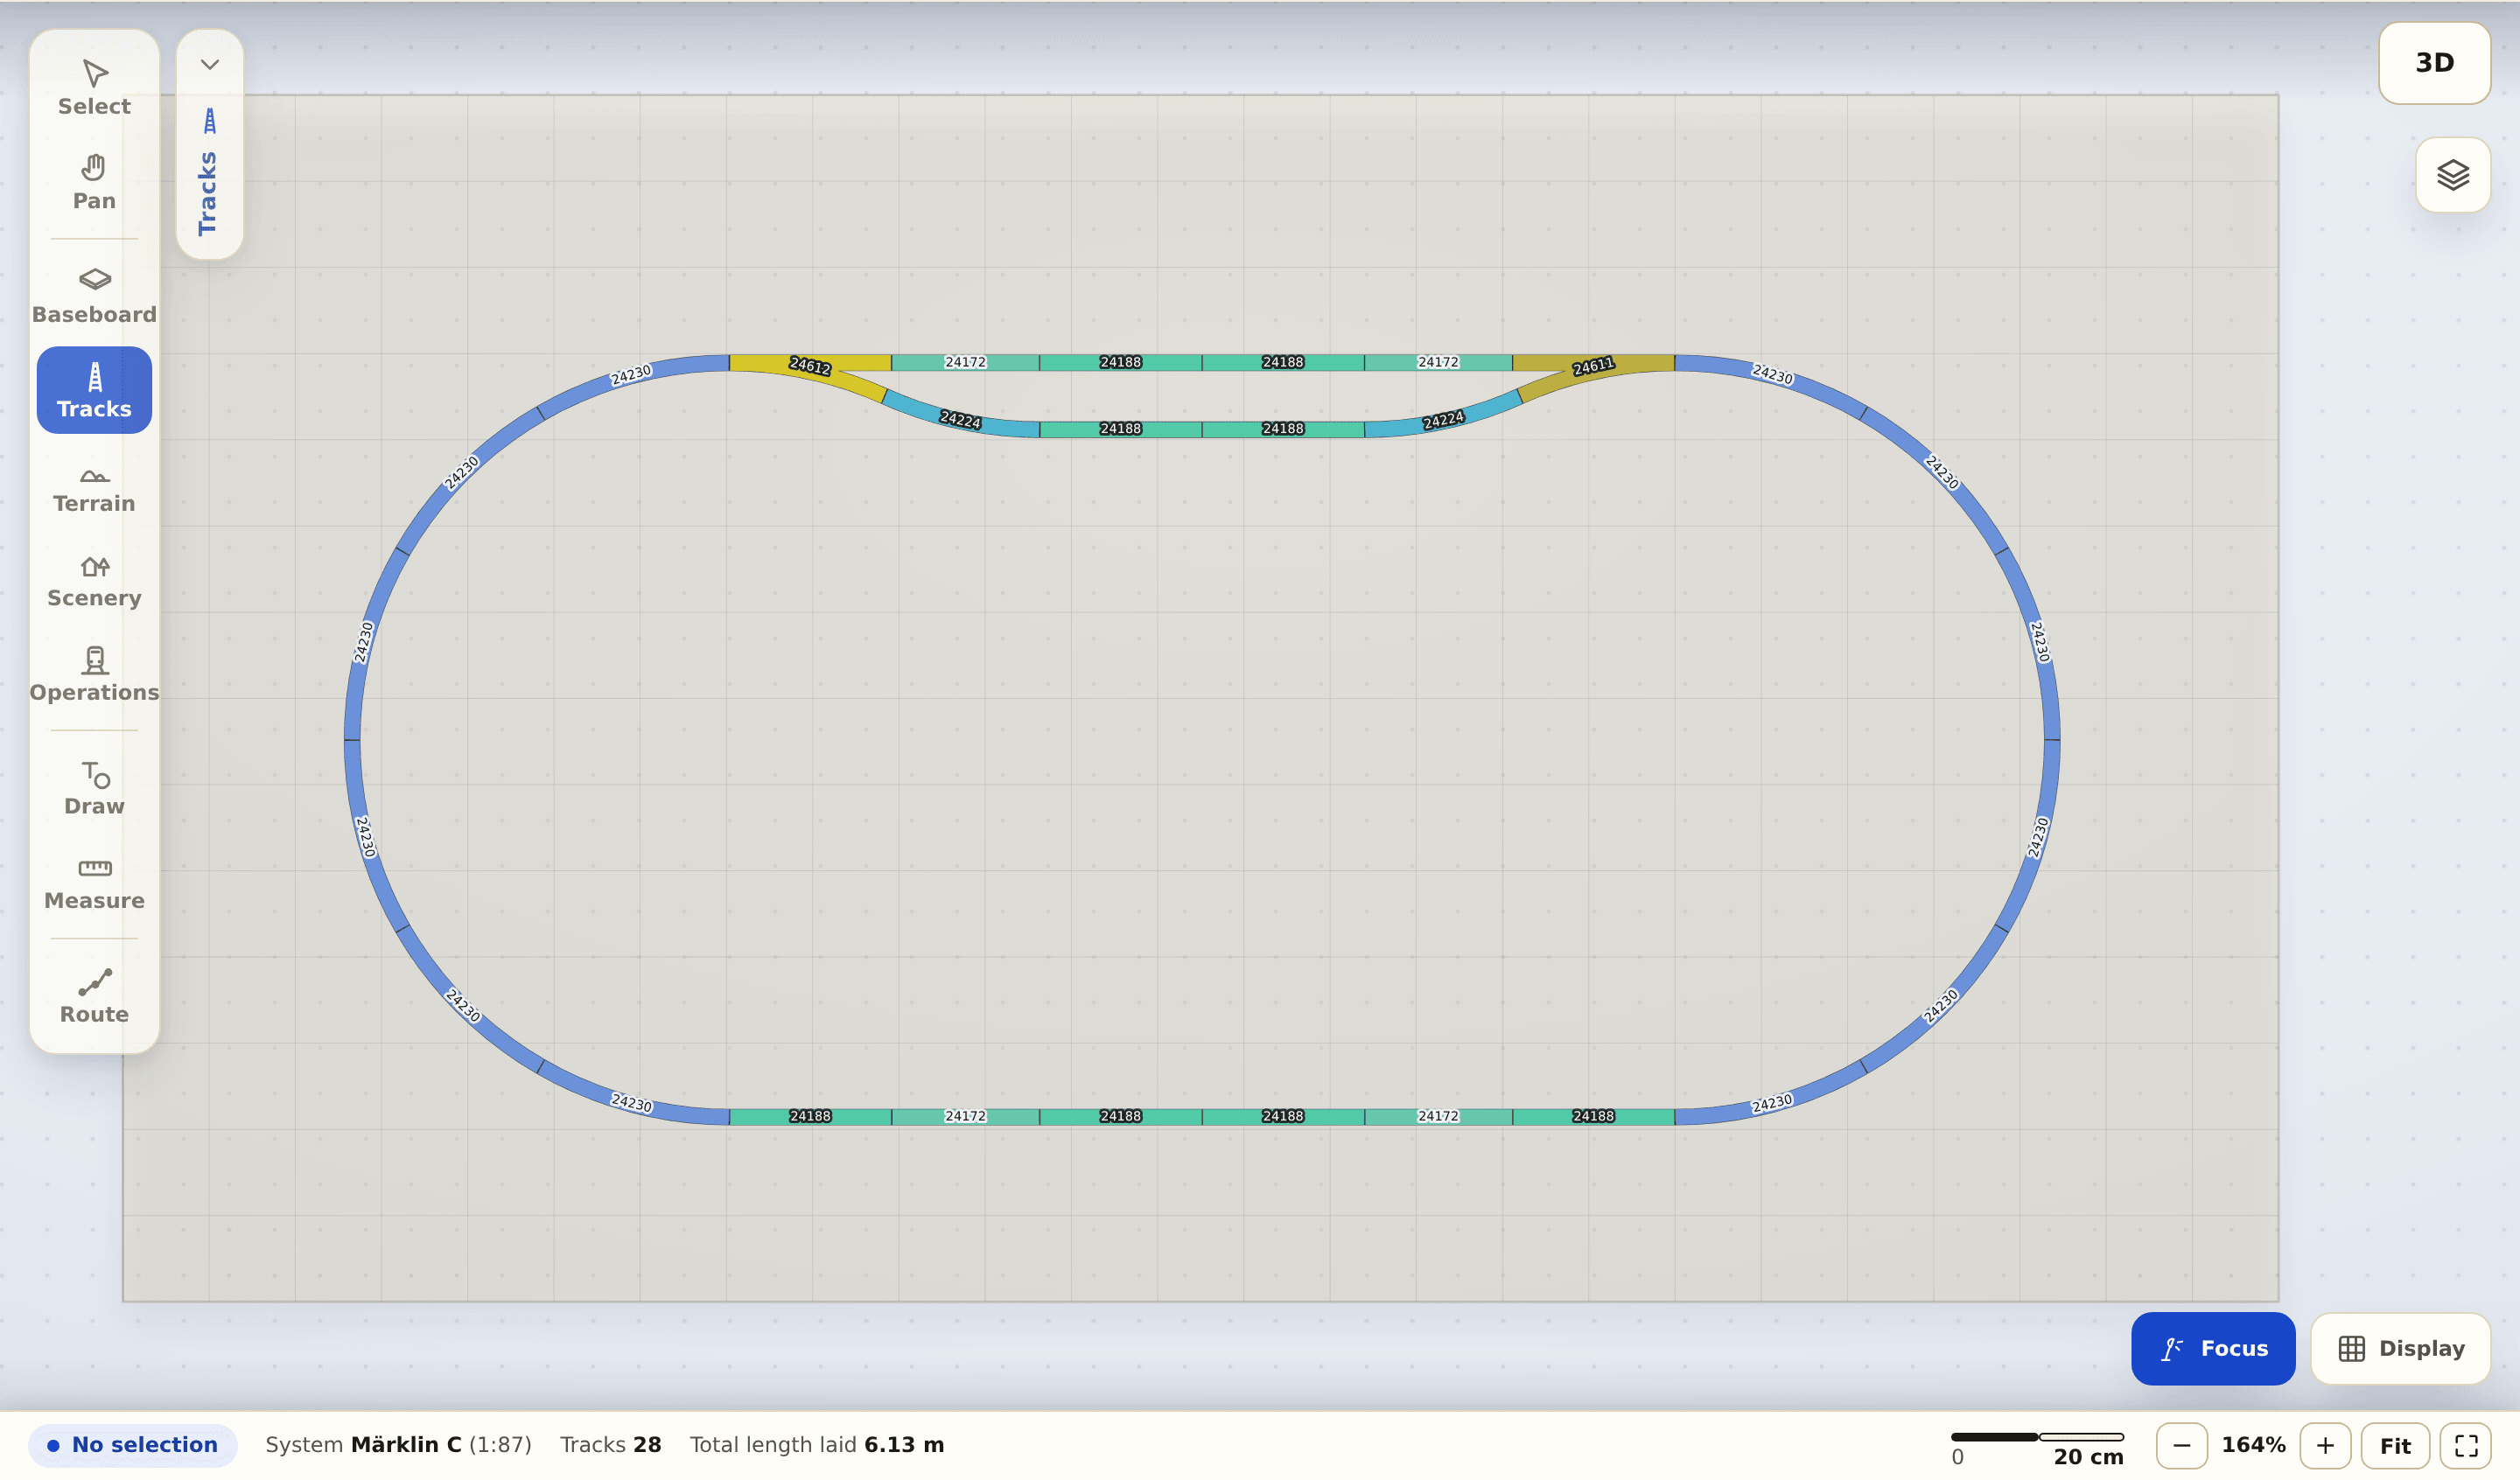
Place two turnouts and a connecting track between them on one side of the oval so the loco can run around its train (a turnout is also built when you drag from an open end onto a rail joint). The plan check recognises a valid runaround and clears the “No run-around at the station” note for this station group.
Step 3 — Room for the train
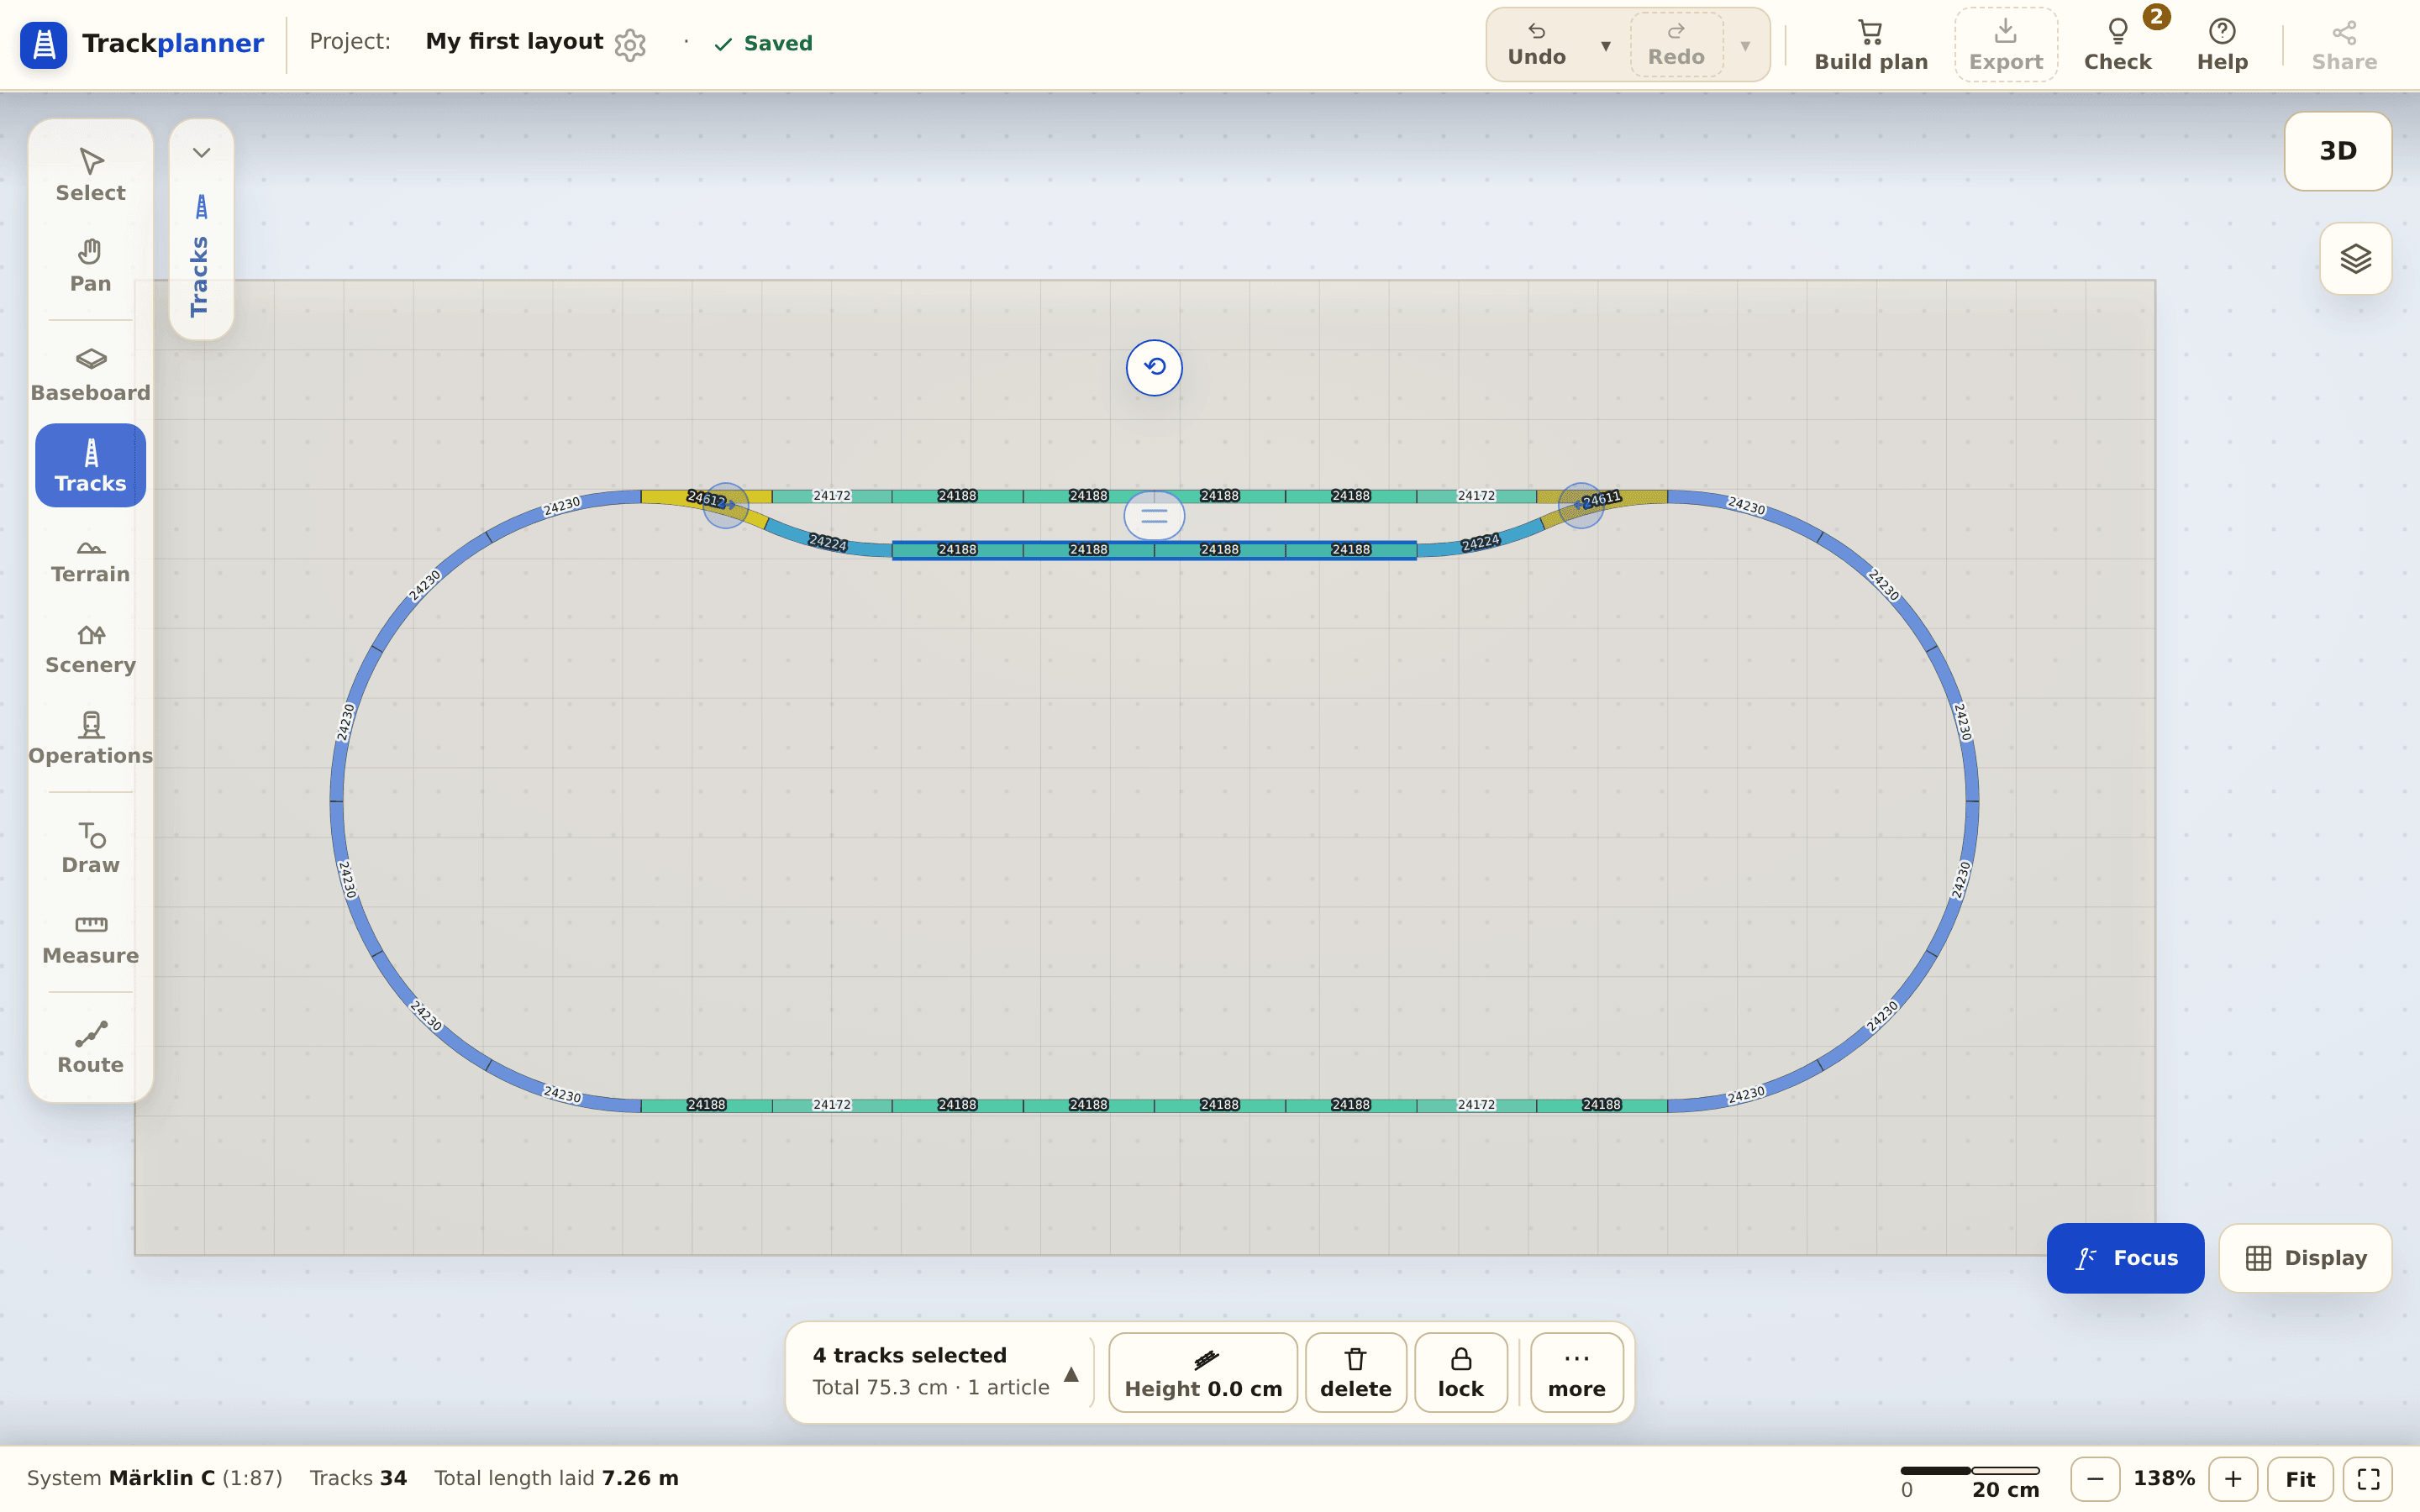
Lay a second, parallel platform track with a usable length of at least 60 cm (or as long as your longest train). Select the tracks between the turnouts — the bar at the bottom shows their length (“Total”). (How to snap a track onto the system parallel spacing on purpose is shown in detail in Part 4.)
Step 4 — Naming
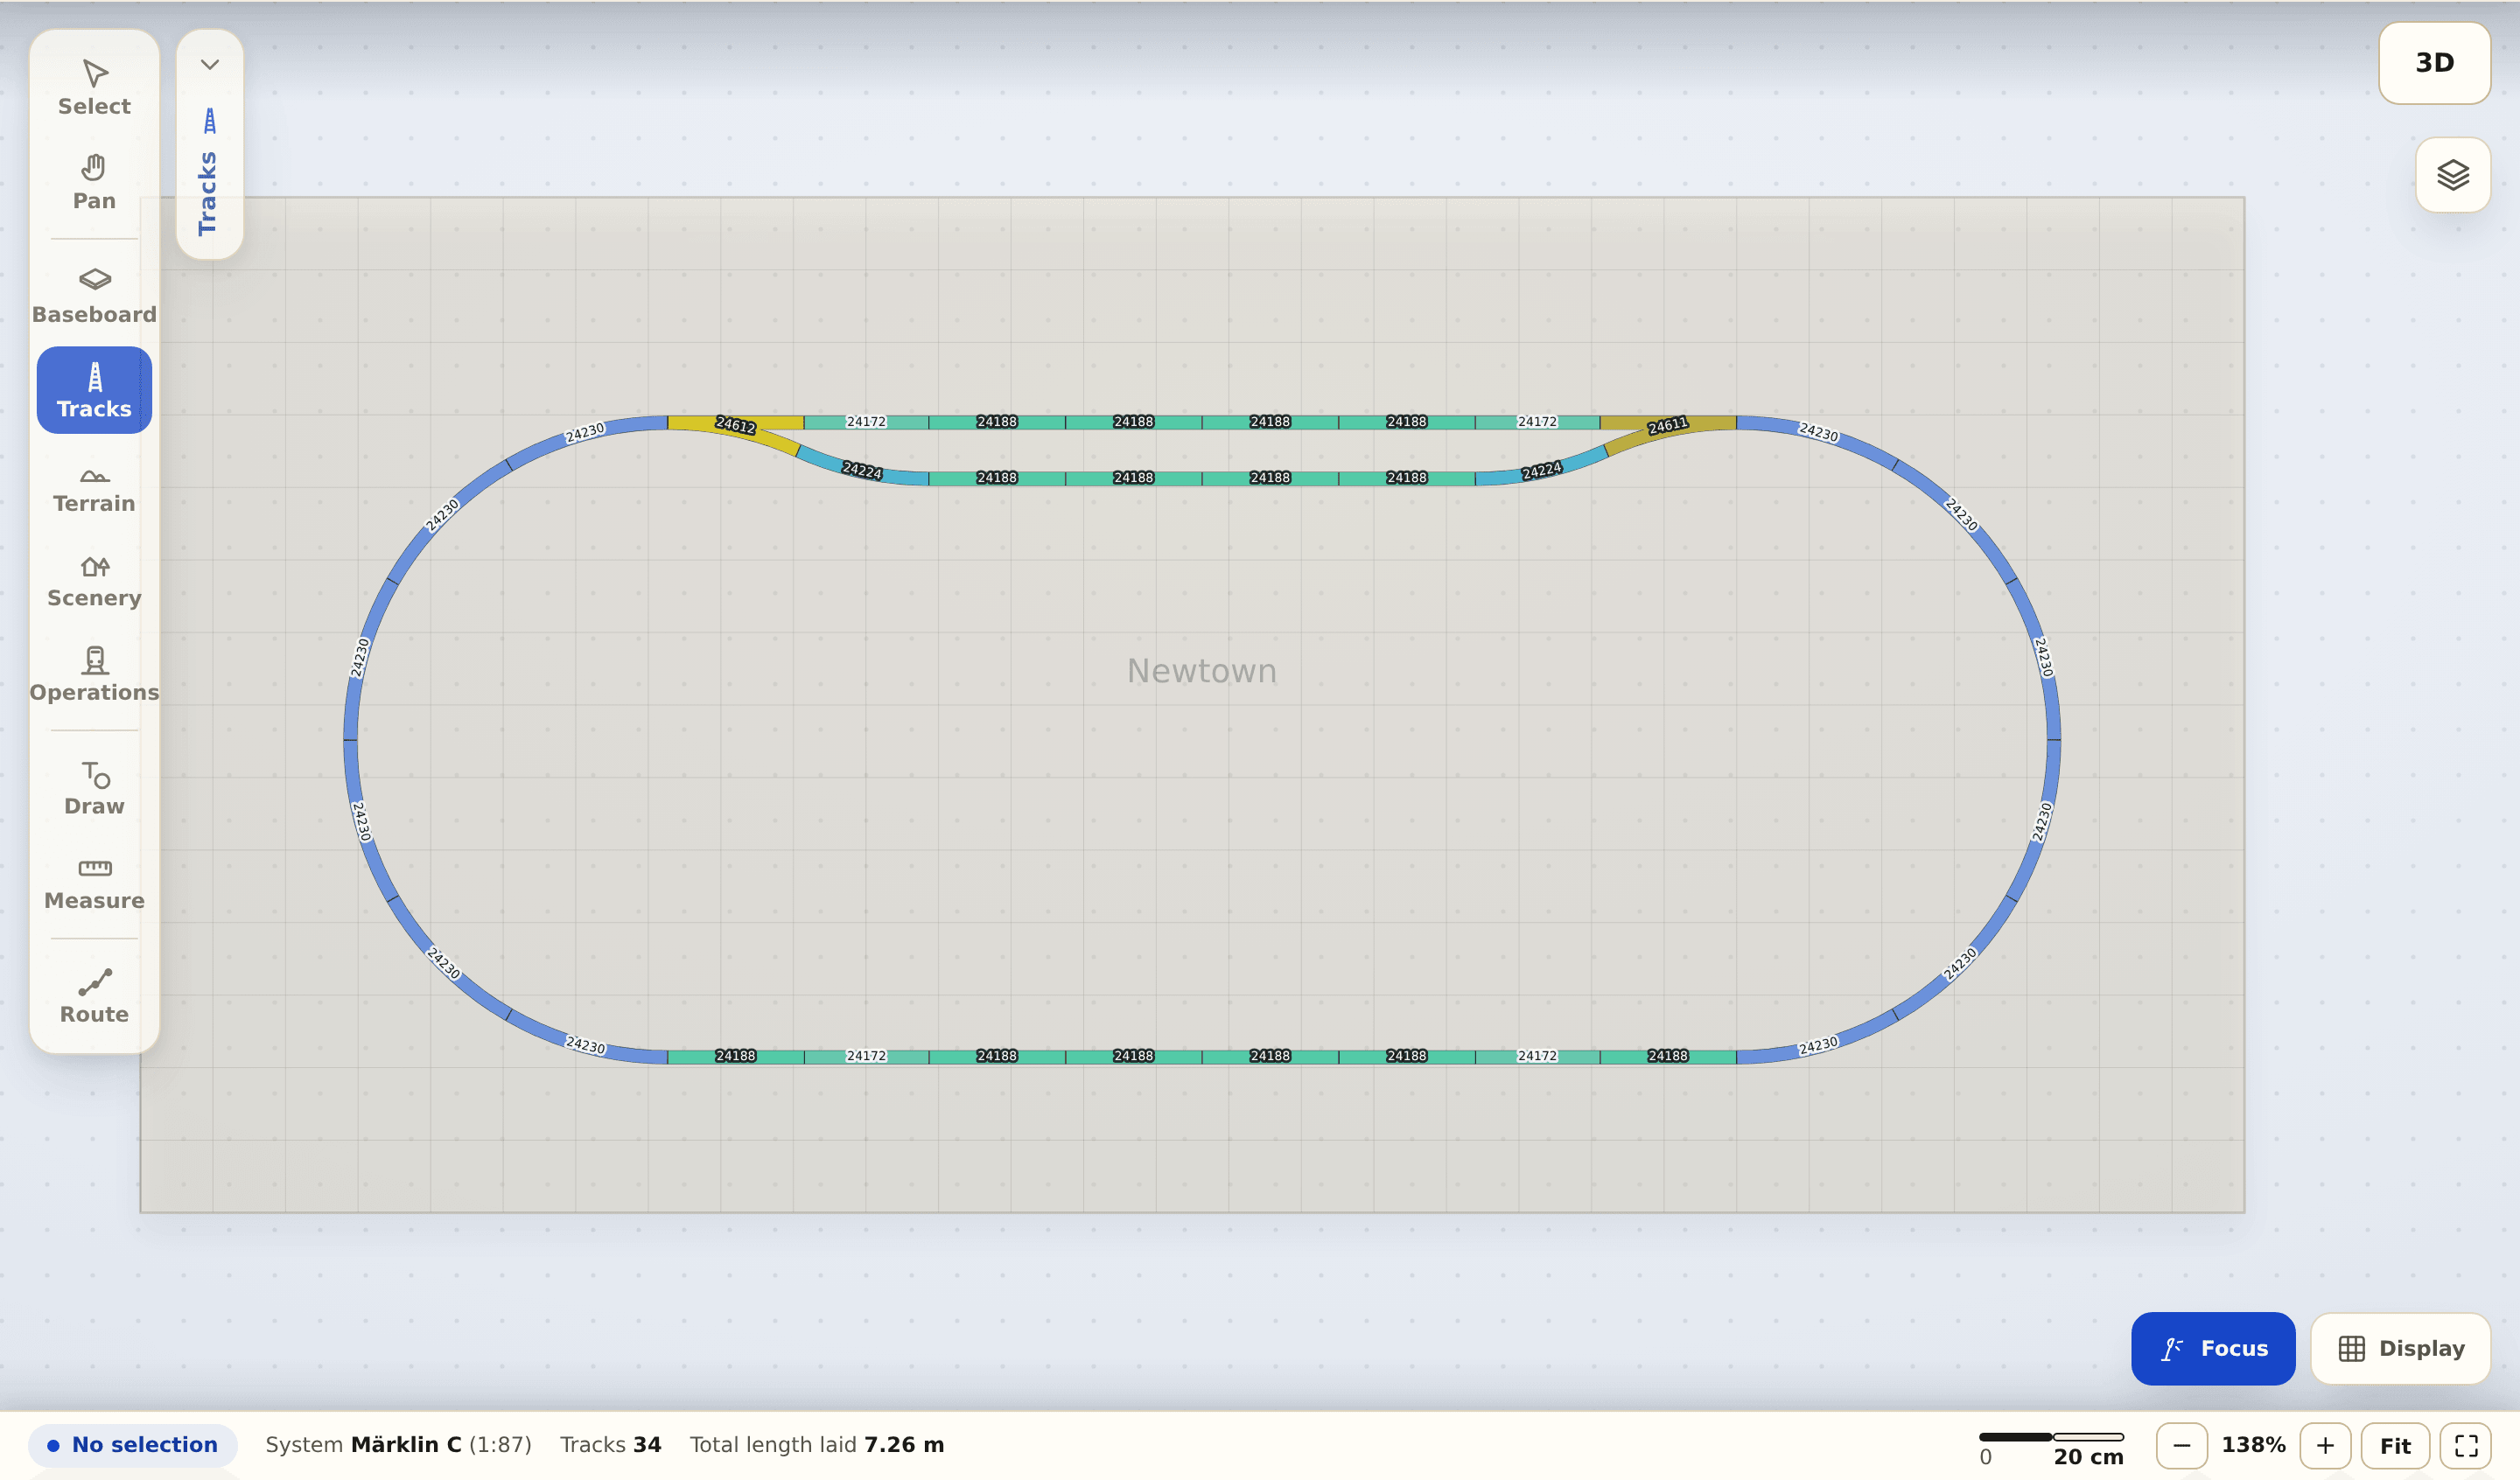
With the Draw tool (type “Text”), place a label on the station and give it a name. A small gesture, a big effect — the layout gains a place.
What’s next?
- Part 3: Reversing loop around the hill — the line turns the train around.
- More on this: Runaround track · Usable siding length.